I am in love with graphic tees this fall. The only problem is, I don't have many! I decided to take one of my old, plain tees and simply add a graphic to it. Easy enough, right?
Materials:
-arrows pattern (click here to print)
-sheer/semi-sheer shirt
-fabric paint
-paintbrush
-clipboard or cardboard
Tutorial:
I made an arrows pattern that you can print here. Make sure to set the printer settings to landscape before printing.
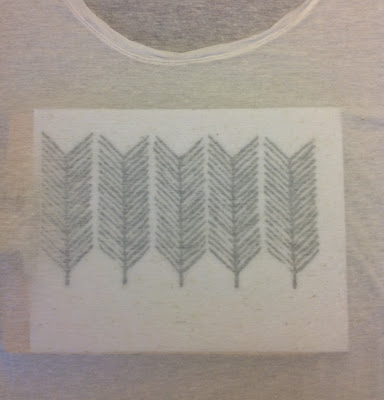
After your print out the pattern, place it underneath your shirt, so you can see the graphic through the shirt like this. That is why you need a sheer/semi-shirt or light colored shirt to do this tutorial, otherwise you won't be able to see the pattern!
Make sure you place either a clipboard or cardboard underneath so that you have a nice flat surface to paint on and so that the paint does not bleed through.
Next, start painting the pattern onto the shirt. It might seem time consuming, but it only took me about 20 minutes to do.
Now, here is the completed shirt! I am very pleased with how it turned out. What do you think?
-Sarah


No comments:
Post a Comment